Appearance
Claude Code in VS Code
Install and configure the Claude Code extension for VS Code. Get AI coding assistance with inline diffs, @-mentions, plan review and keyboard shortcuts.
The VS Code extension provides a native graphical interface for Claude Code directly inside VS Code.
With the extension you can:
- Review and edit Claude plans before accepting them
- Auto-accept edits
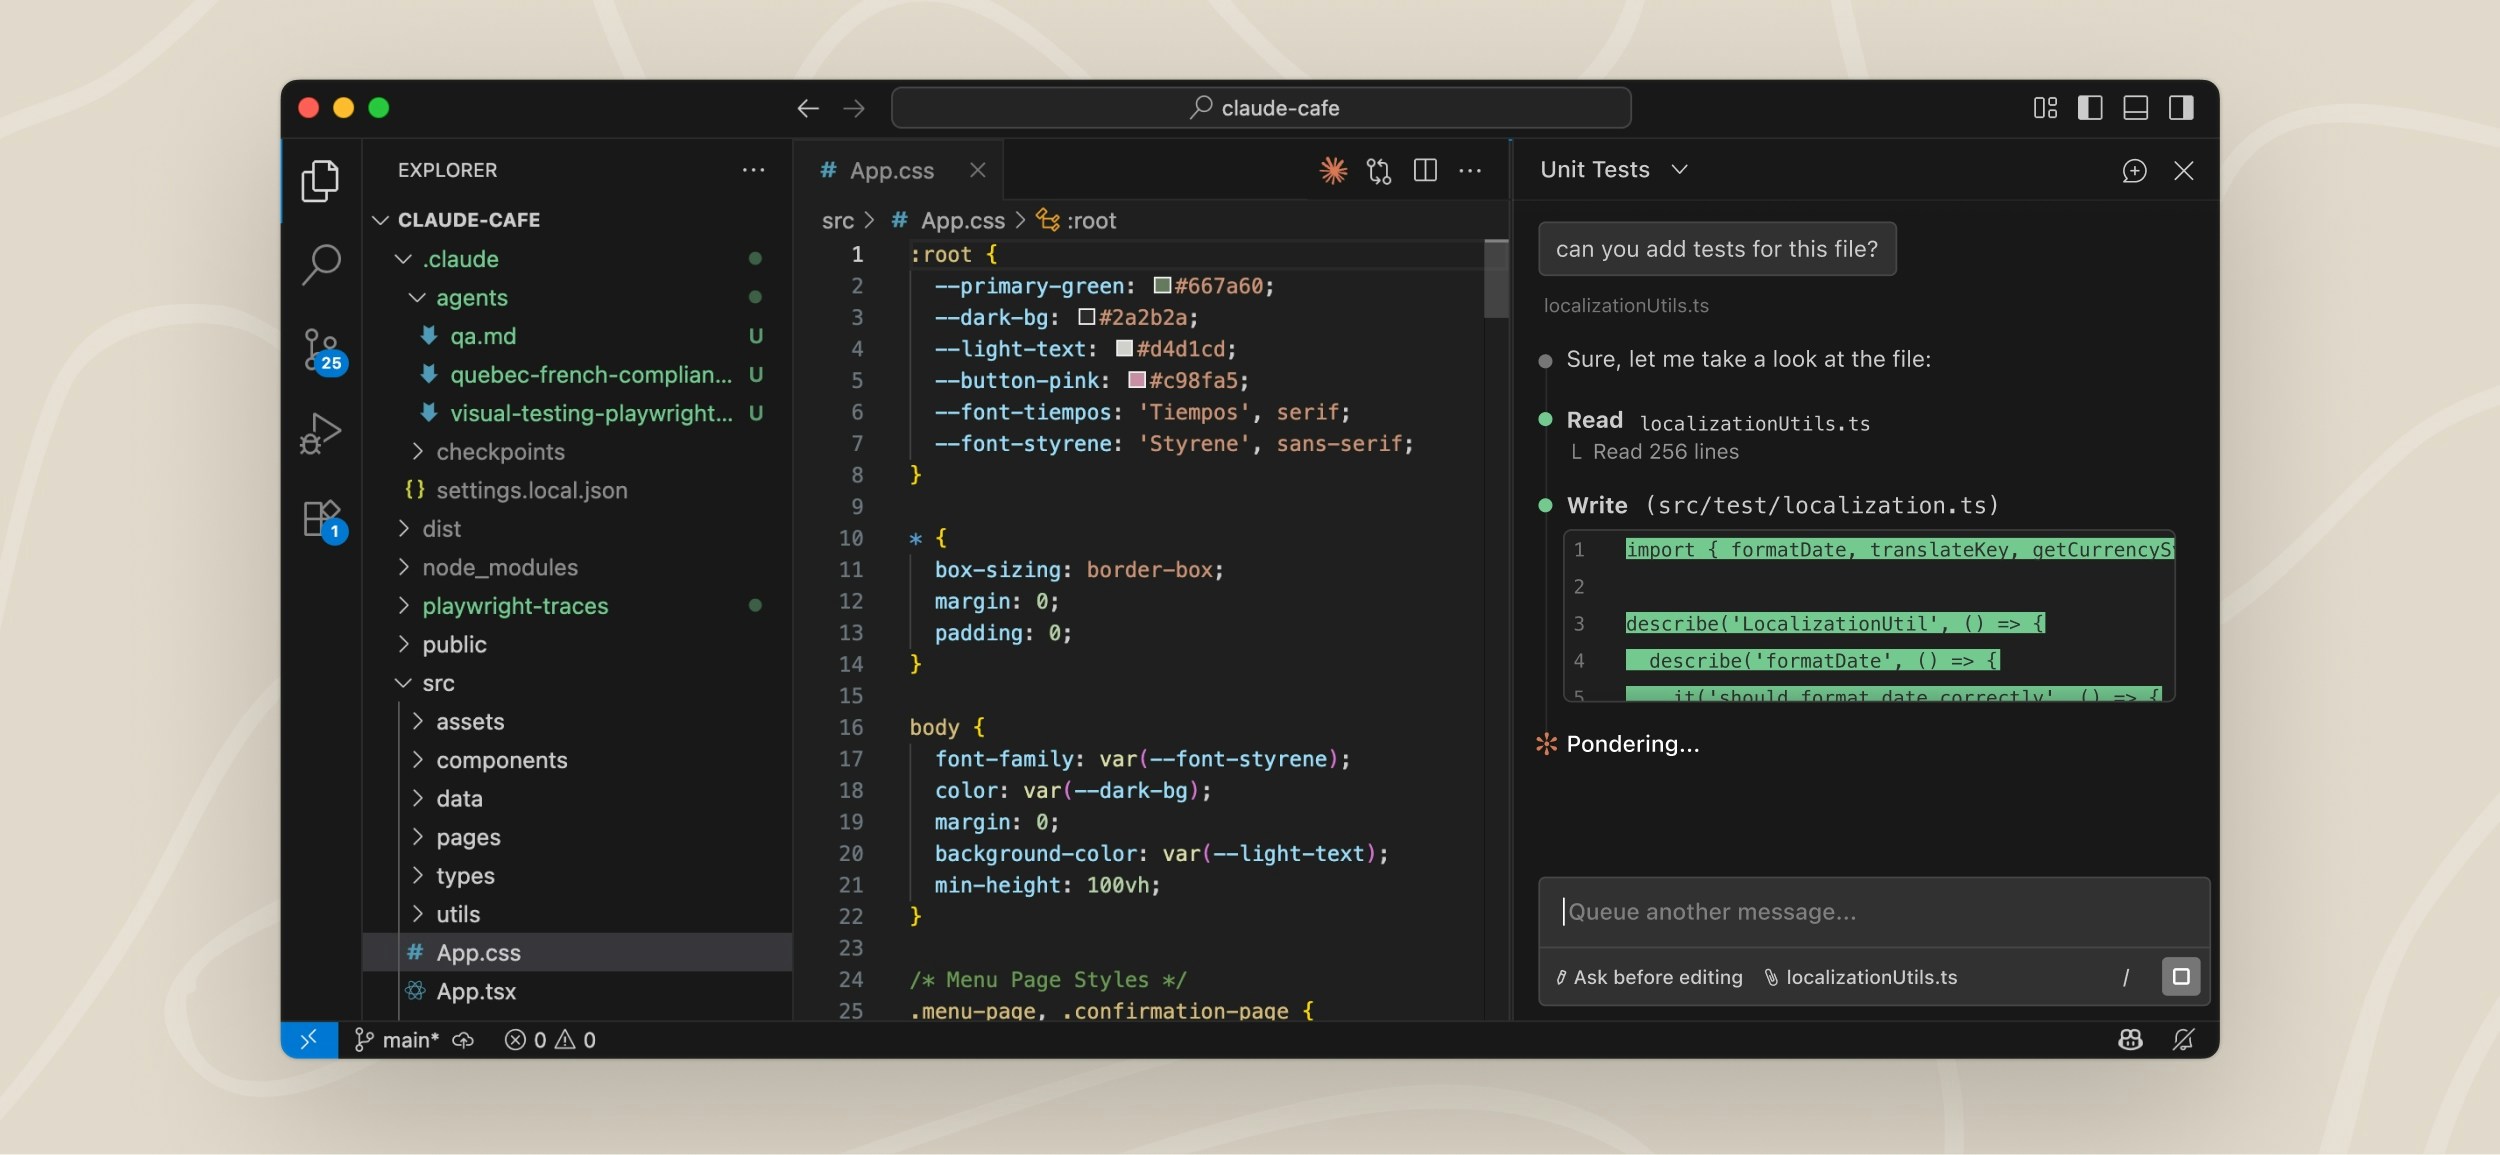
- Use
@mentions for files and line ranges - Access conversation history
- Open multiple conversations in separate tabs or windows
Prerequisites
- VS Code 1.98.0 or higher
- An Anthropic account
TIP
You do not need to install the Claude Code CLI first.
Some advanced features such as MCP configuration still require the CLI.
Install the extension
Install directly:
Or manually:
Open Extensions with:
Cmd+Shift+Xon MacCtrl+Shift+Xon Windows/Linux
Search for:
txt
Claude Code- Click Install
TIP
You may need to restart VS Code or run Developer: Reload Window.
Get started
Open the Claude Code panel
You can open Claude Code in several ways:
Editor Toolbar
Click the Spark icon in the top-right corner of the editor.
![]()
Command Palette
Open:
Cmd+Shift+Pon MacCtrl+Shift+Pon Windows/Linux
Search for:
txt
Claude CodeThen select:
txt
Open in New TabStatus Bar
Click:
txt
✱ Claude Codein the bottom-right corner of VS Code.
Send a prompt
Ask Claude to help with:
- debugging
- explaining code
- refactoring
- generating code
- reviewing files
TIP
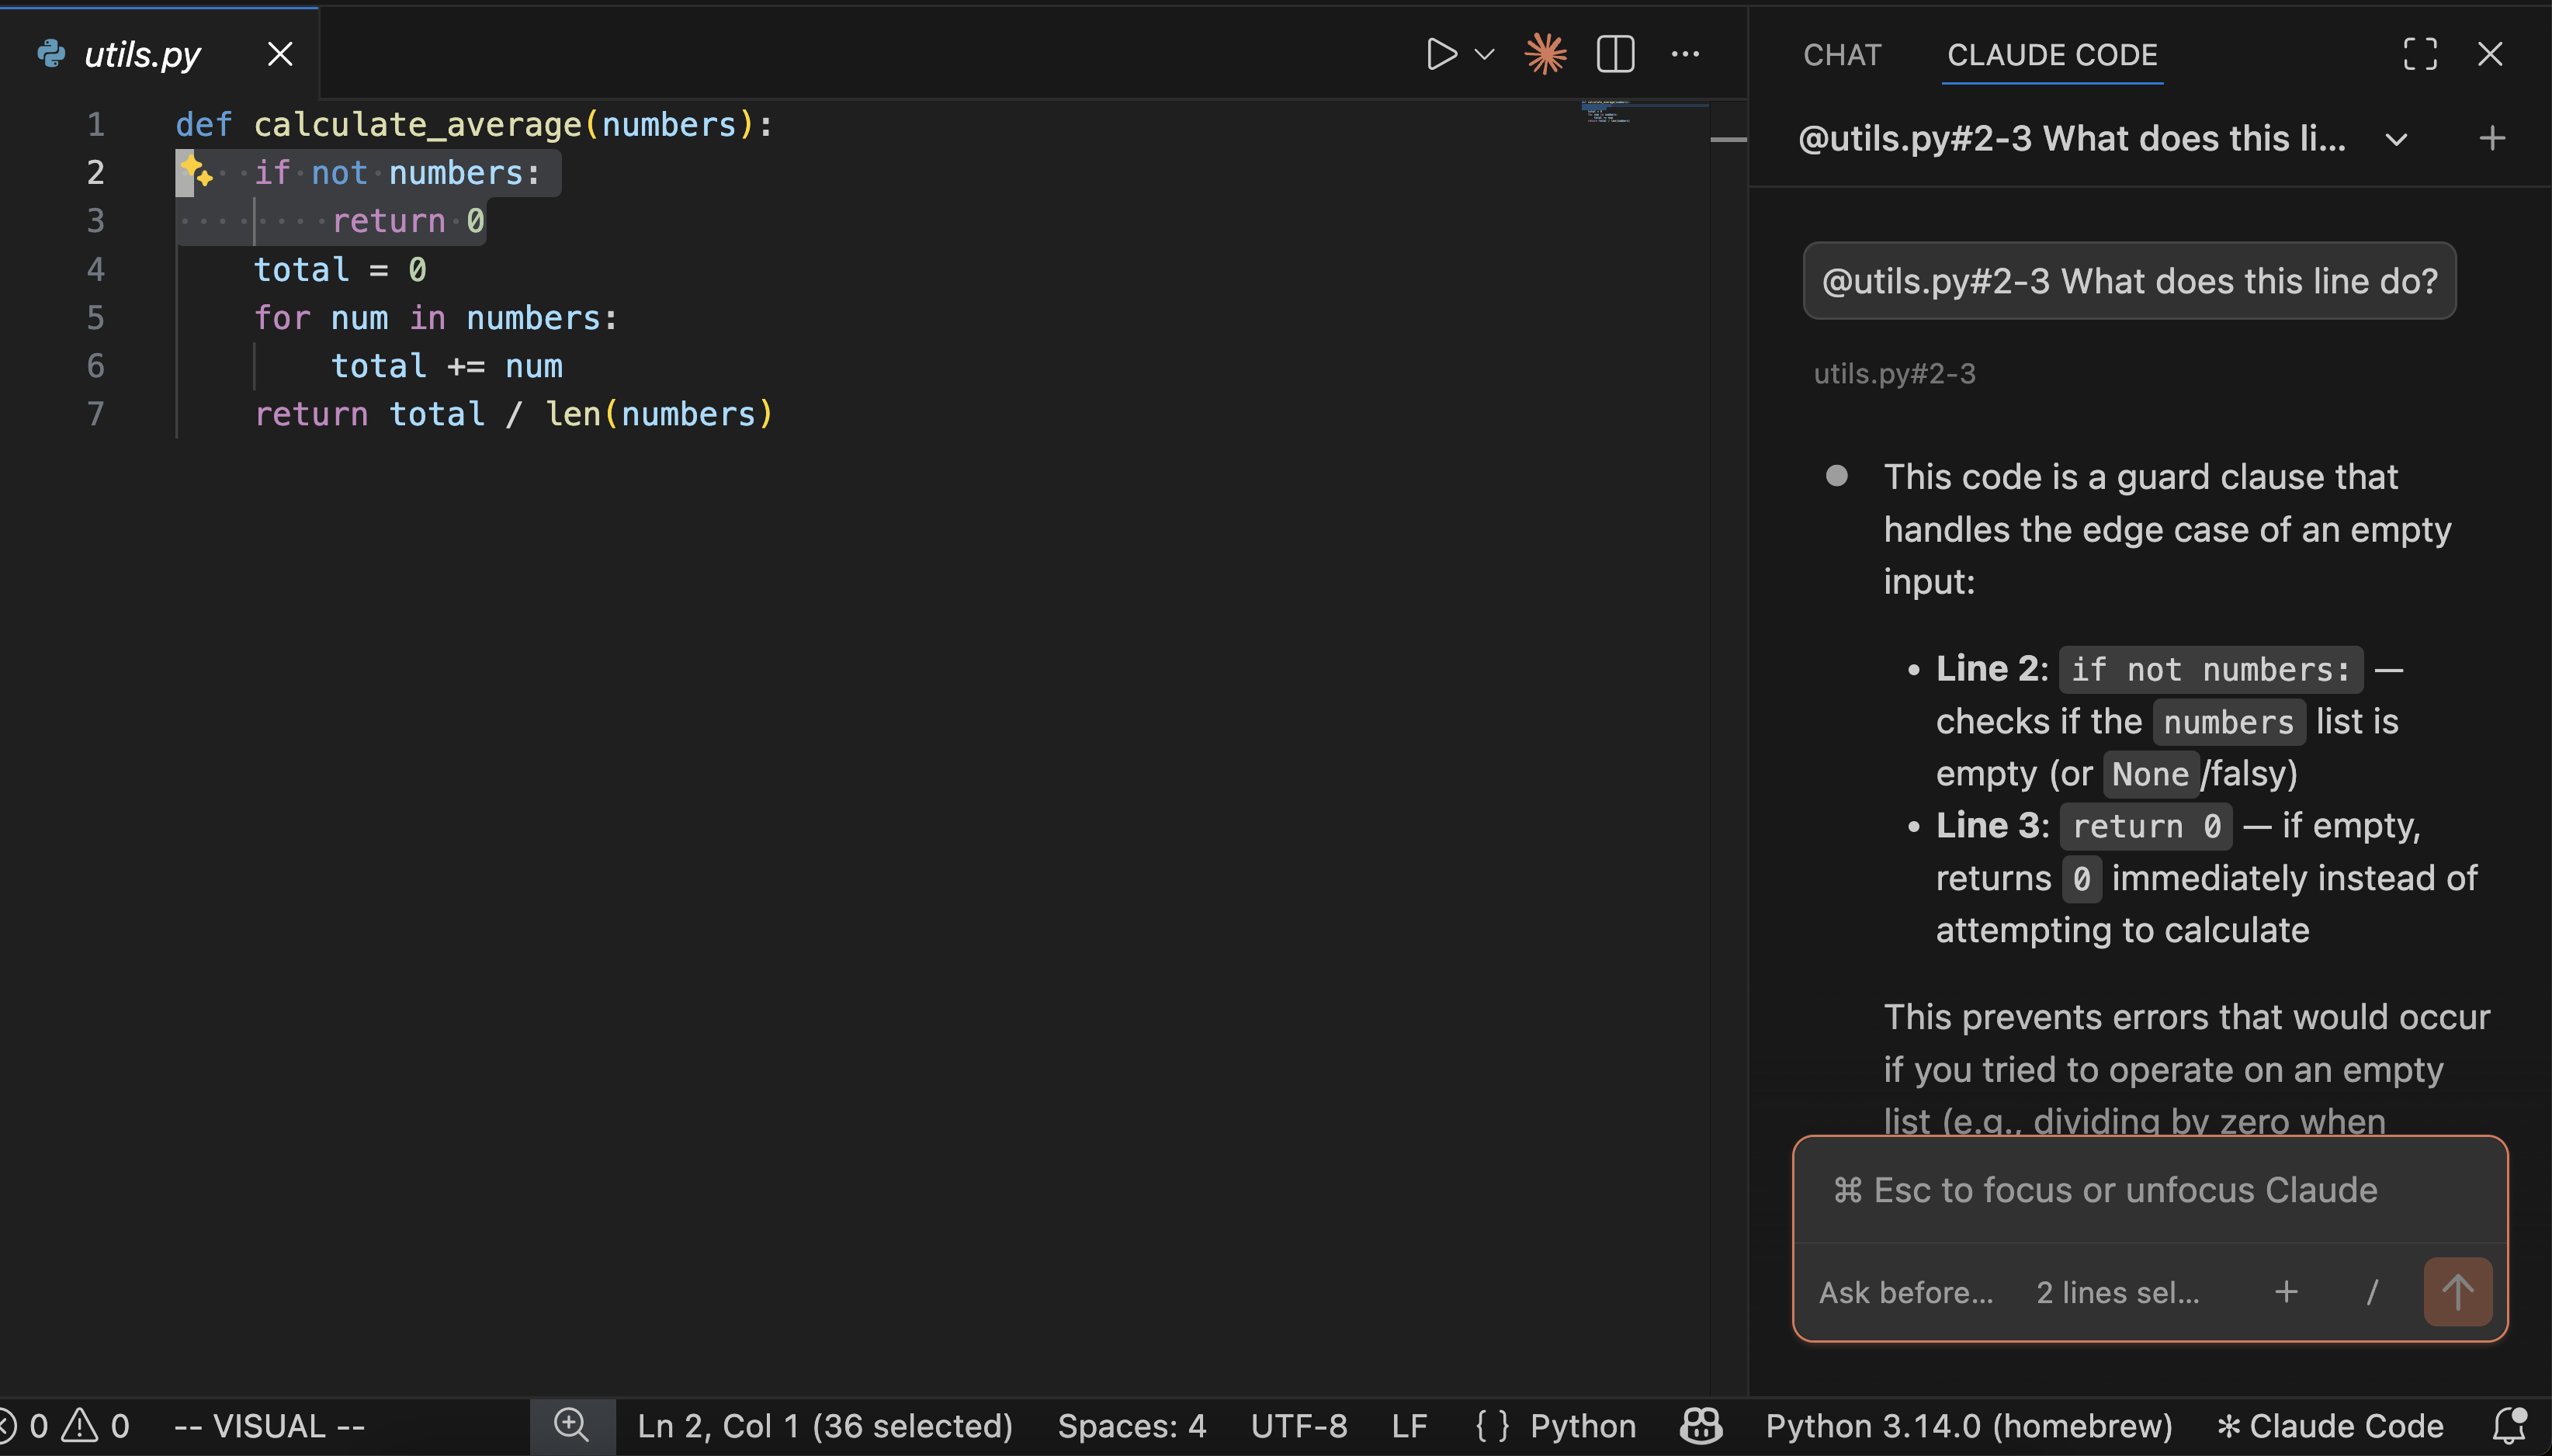
Select text in the editor and press Alt+K to insert an @ mention with file path and line numbers.
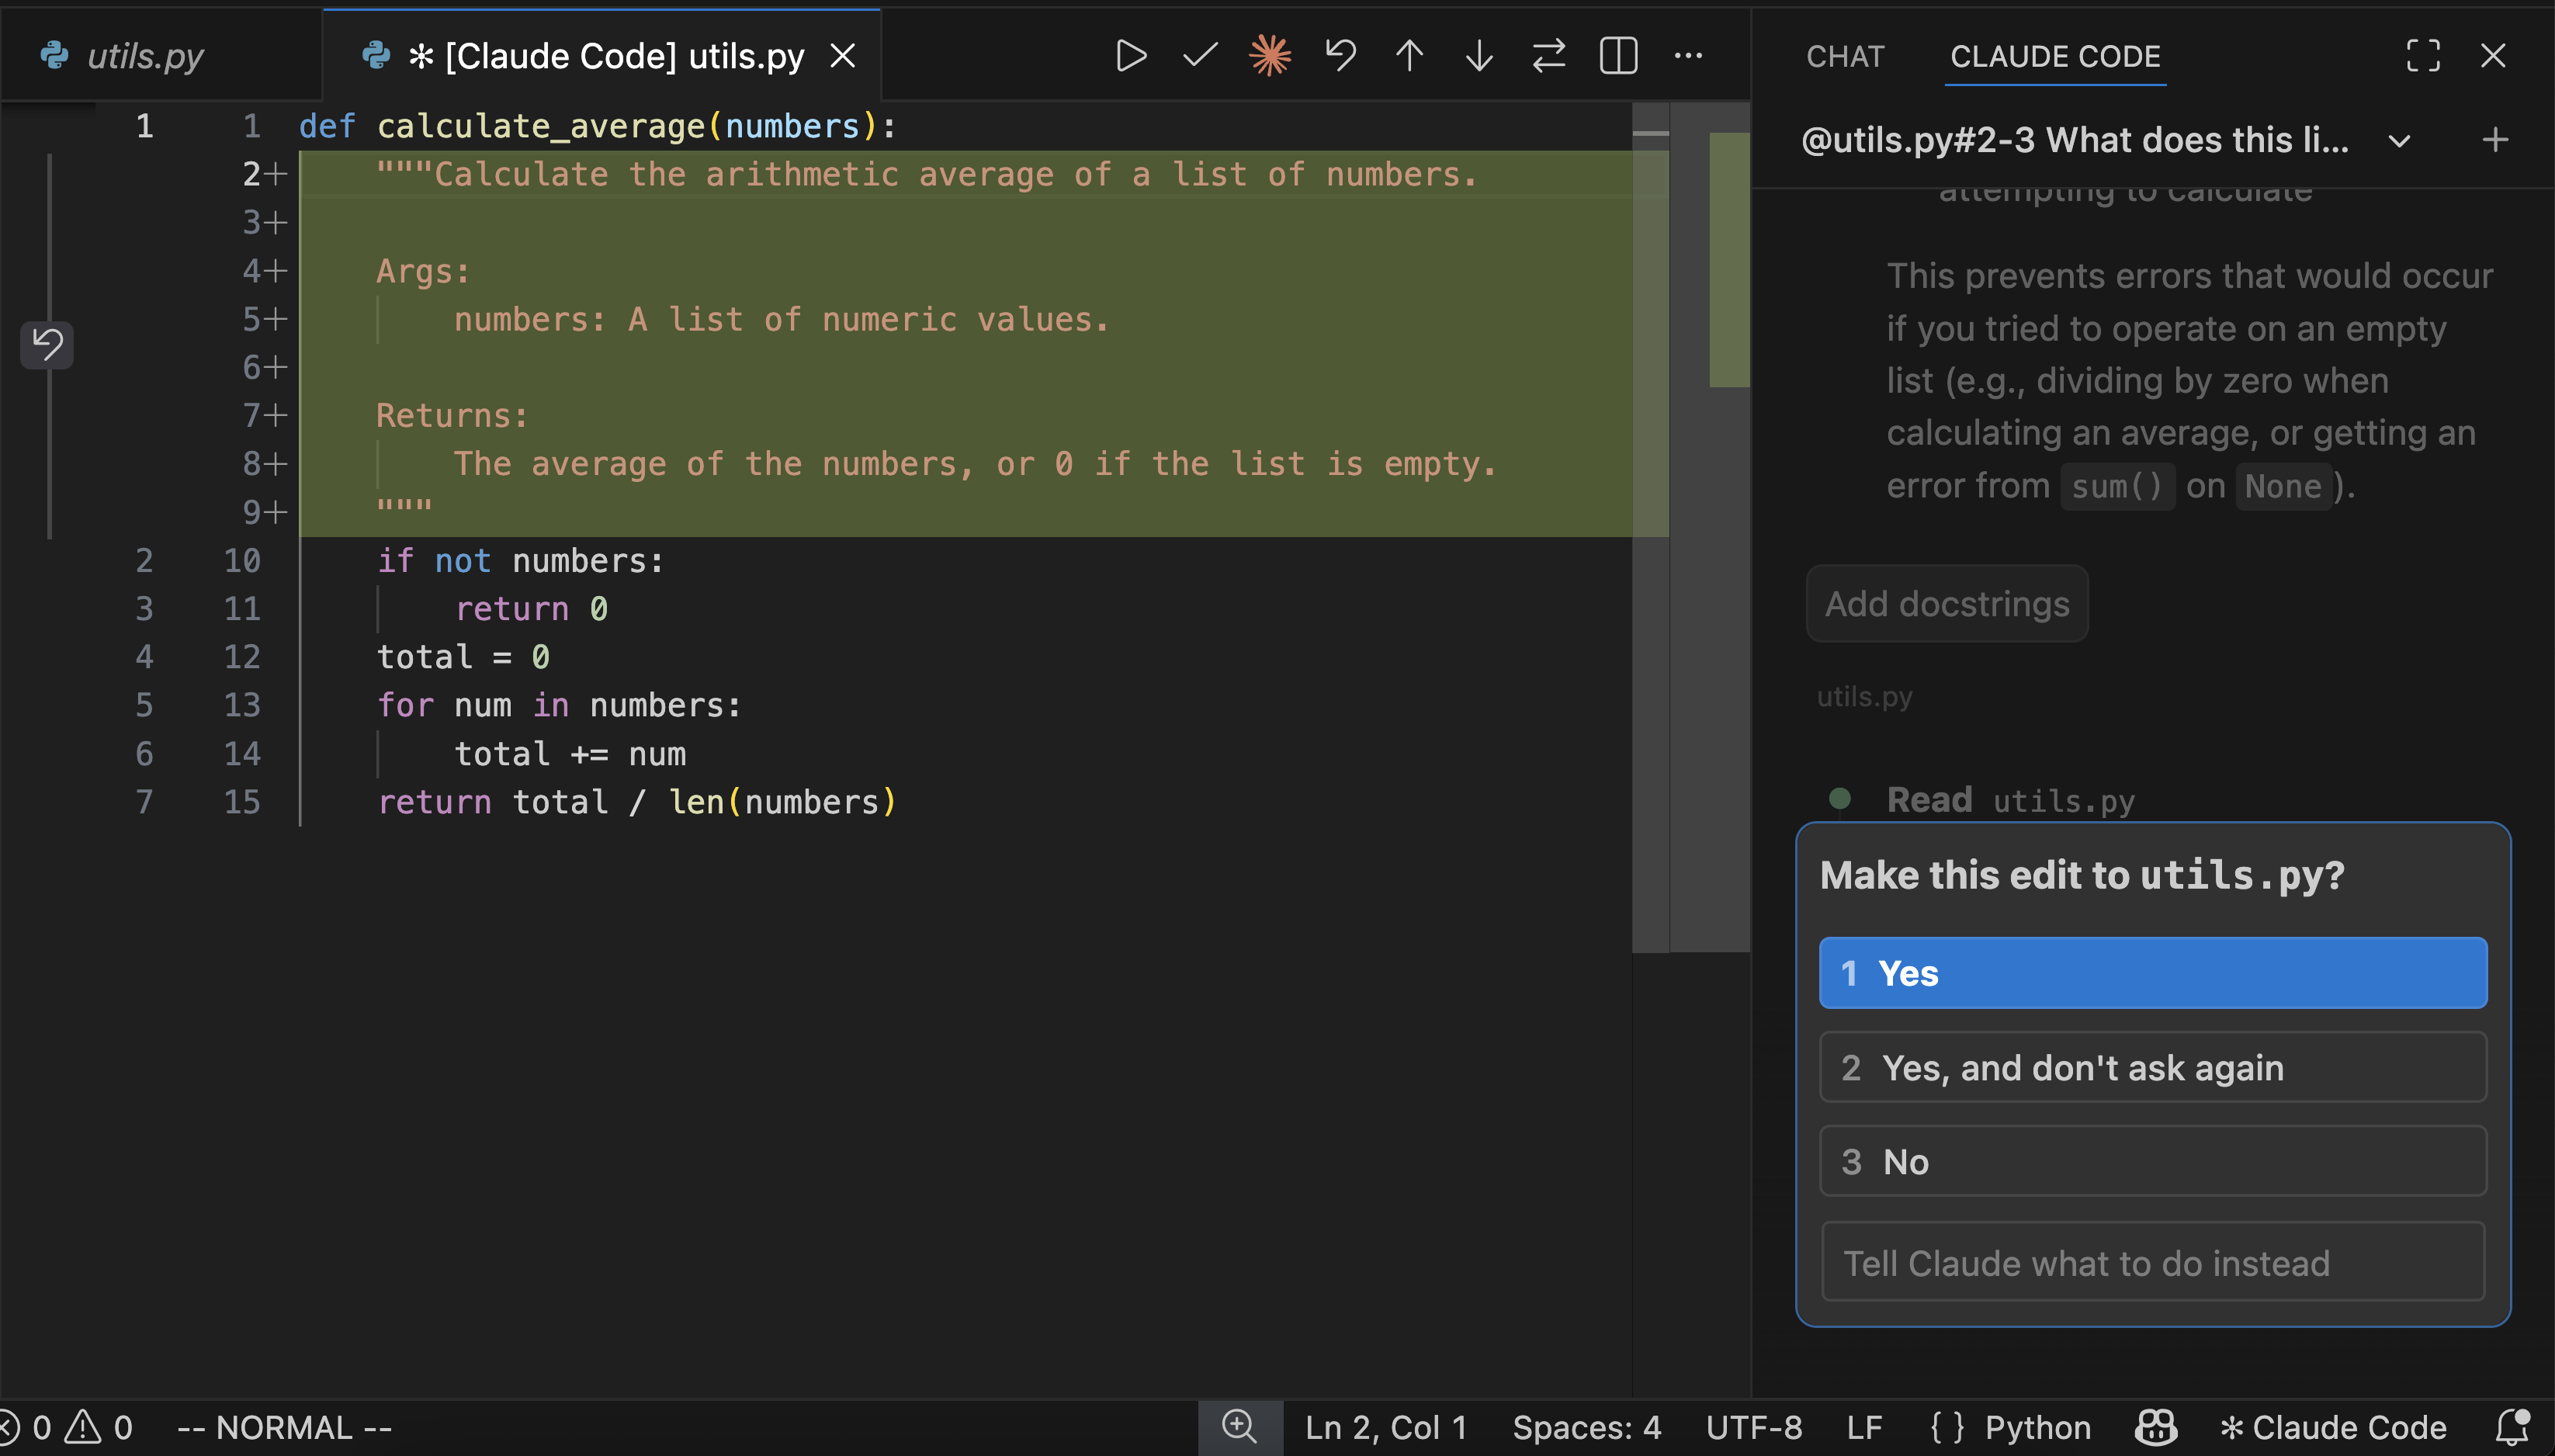
Review changes
When Claude wants to modify files, VS Code shows a diff preview.
You can:
- Accept changes
- Reject changes
- Request modifications
Customize your workflow
Change the layout
You can move the Claude panel to:
- Secondary sidebar (default)
- Primary sidebar
- Editor area
Switch to terminal mode
Enable terminal mode in VS Code settings:
txt
Extensions → Claude Code → Use TerminalOr open:
txt
vscode://settings/claudeCode.useTerminalCommands and shortcuts
| Command | Shortcut |
|---|---|
| Focus Input | Cmd+Esc / Ctrl+Esc |
| Open in New Tab | Cmd+Shift+Esc / Ctrl+Shift+Esc |
| New Conversation | Cmd+N / Ctrl+N |
| Insert @ Mention | Alt+K |
Configure settings
Open settings:
Cmd+,on MacCtrl+,on Windows/Linux
Then go to:
txt
Extensions → Claude CodeImportant settings include:
- Selected Model
- Use Terminal
- Preferred Location
- Autosave
- Respect Git Ignore
- Disable Login Prompt
Use third-party providers
Claude Code can also work with:
- Amazon Bedrock
- Google Vertex AI
- Microsoft Foundry
Configure providers in:
txt
~/.claude/settings.jsonCLI vs VS Code extension
| Feature | CLI | Extension |
|---|---|---|
| Slash commands | Full | Partial |
| MCP config | Yes | Partial |
| Terminal shortcuts | Yes | No |
Security considerations
When auto-edit permissions are enabled, Claude can modify VS Code configuration files.
WARNING
Review changes carefully before accepting them.
For untrusted projects:
- Enable Restricted Mode
- Use manual approvals
- Disable auto-accept
Common issues
Extension will not install
- Verify VS Code version
- Check extension permissions
- Restart VS Code
Spark icon missing
Try:
- Open a file first
- Restart VS Code
- Disable conflicting AI extensions
- Check workspace trust
Claude does not respond
- Check internet connection
- Start a new conversation
- Try the CLI:
bash
claudeUninstall the extension
- Open Extensions
- Search for
Claude Code - Click Uninstall
Remove extension data:
bash
rm -rf ~/.vscode/globalStorage/anthropic.claude-codeNext steps
- Explore workflows
- Configure MCP servers
- Customize Claude settings
- Connect external providers
Documentation source: https://code.claude.com/docs/llms.txt